
Introduction
Are you tired of peeling paper liners off your muffins only to have half the muffin stick to the paper? Or perhaps you are looking for a more eco-friendly alternative to single-use waste. If you’ve recently purchased a set of reusable liners, you might be wondering exactly how to use silicone muffin cups effectively.
Silicone baking cups have revolutionized the home baking world. They are colorful, reusable, and arguably the best non-stick tool in your kitchen. However, baking with silicone is slightly different than using traditional metal pans or paper liners.
In this guide, we will walk you through the steps to get the perfect bake every time, answer common questions about greasing, and show you how to keep them clean.
Why Switch to Silicone Baking Cups?
Before we dive into the “how-to,” let’s quickly look at why professional and home bakers are making the switch:
- Eco-Friendly: No more throwing away paper liners after every batch.
- Cost-Effective: One set can last for years.
- Non-Stick Magic: Baked goods pop out easily with minimal effort.
- Versatility: They aren’t just for muffins! Use them for bento box dividers, frozen treats, or chocolate molds.
Step-by-Step: How to Use Silicone Muffin Cups
Using silicone cups is easy, but a few small adjustments to your routine will ensure success.
1. Stability is Key
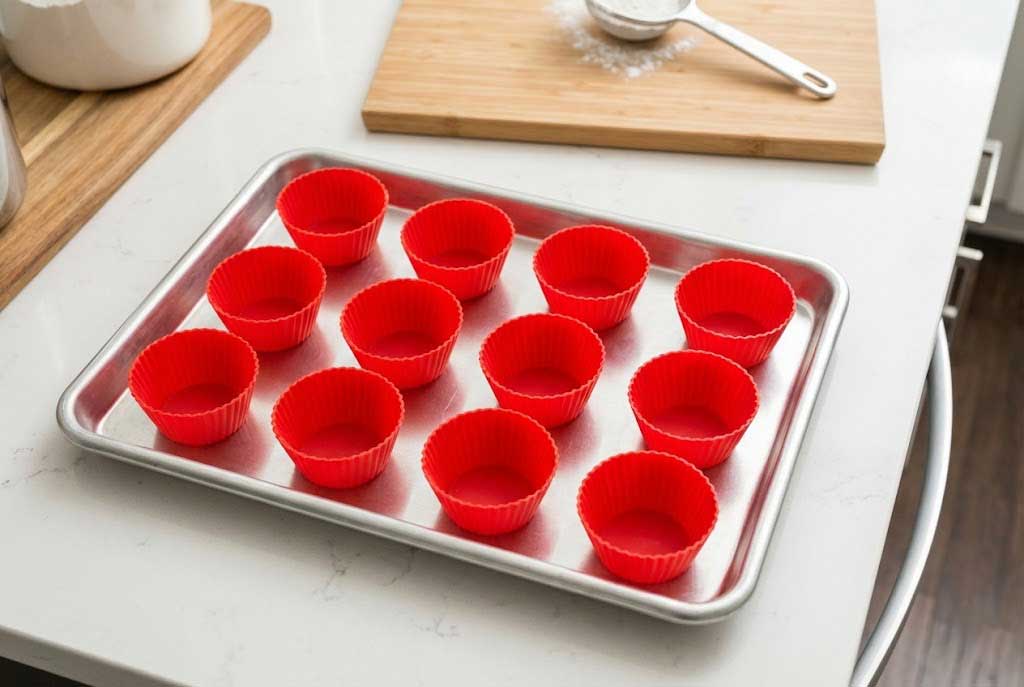
Unlike a rigid metal pan, silicone cups are flexible.
- The Golden Rule: Always place your silicone cups on a flat metal baking sheet or inside a muffin tin before you pour the batter.
- Why? If you fill them on the counter and try to move them to the oven, they will wobble, and you will spill batter everywhere.
2. To Grease or Not to Grease?
This is the most common question. Technically, high-quality silicone is non-stick. However, for the best results:
- For most batters: A light spray of cooking oil or a thin wipe of butter is recommended for the first use.
- For low-fat recipes: Since there is less oil in the batter, definitely grease the cups lightly to prevent sticking.
- For regular use: You generally don’t need to grease them every time, but a quick spray never hurts as insurance!
3. Filling the Cups
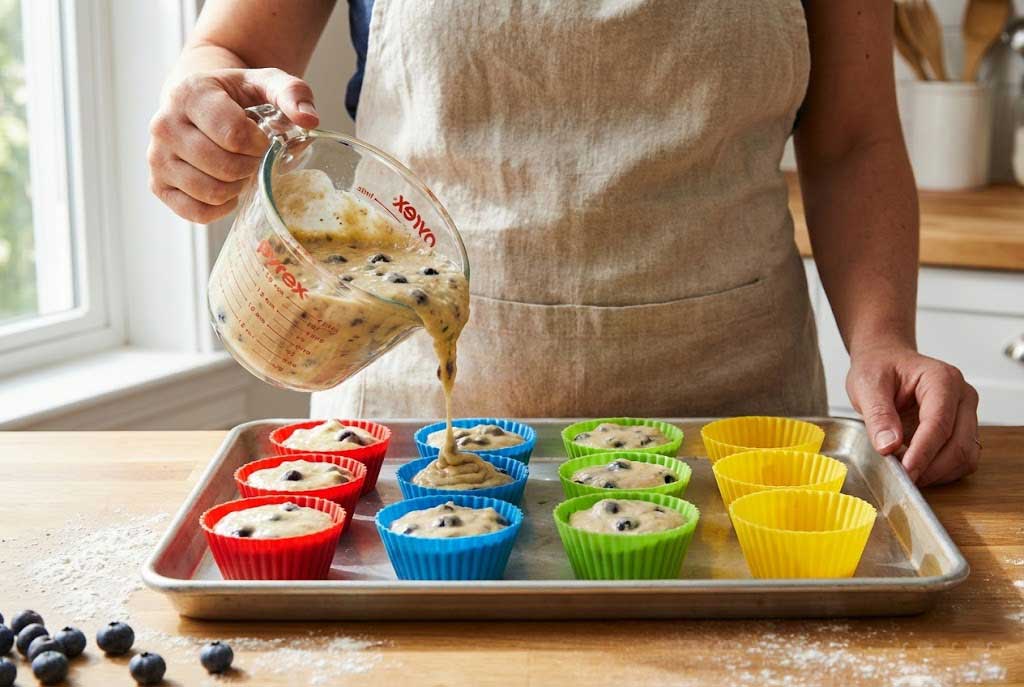
Pour your batter just as you would with paper liners.
- Don’t Overfill: Fill them about 2/3 to 3/4 full. Silicone is sturdy, but if you overfill, the muffin top might expand and become heavy, causing the flexible cup to warp slightly.
4. Baking Temperature and Time
Silicone does not conduct heat as quickly as metal.
- Temperature: Most silicone cups are heat resistant up to 428°F (220°C), but always check the manufacturer’s packaging.
- Timing: You generally do not need to adjust the oven temperature, but watch your baking time. Sometimes, silicone may require an extra 1-2 minutes compared to dark metal pans.
5. Cooling and Unmolding
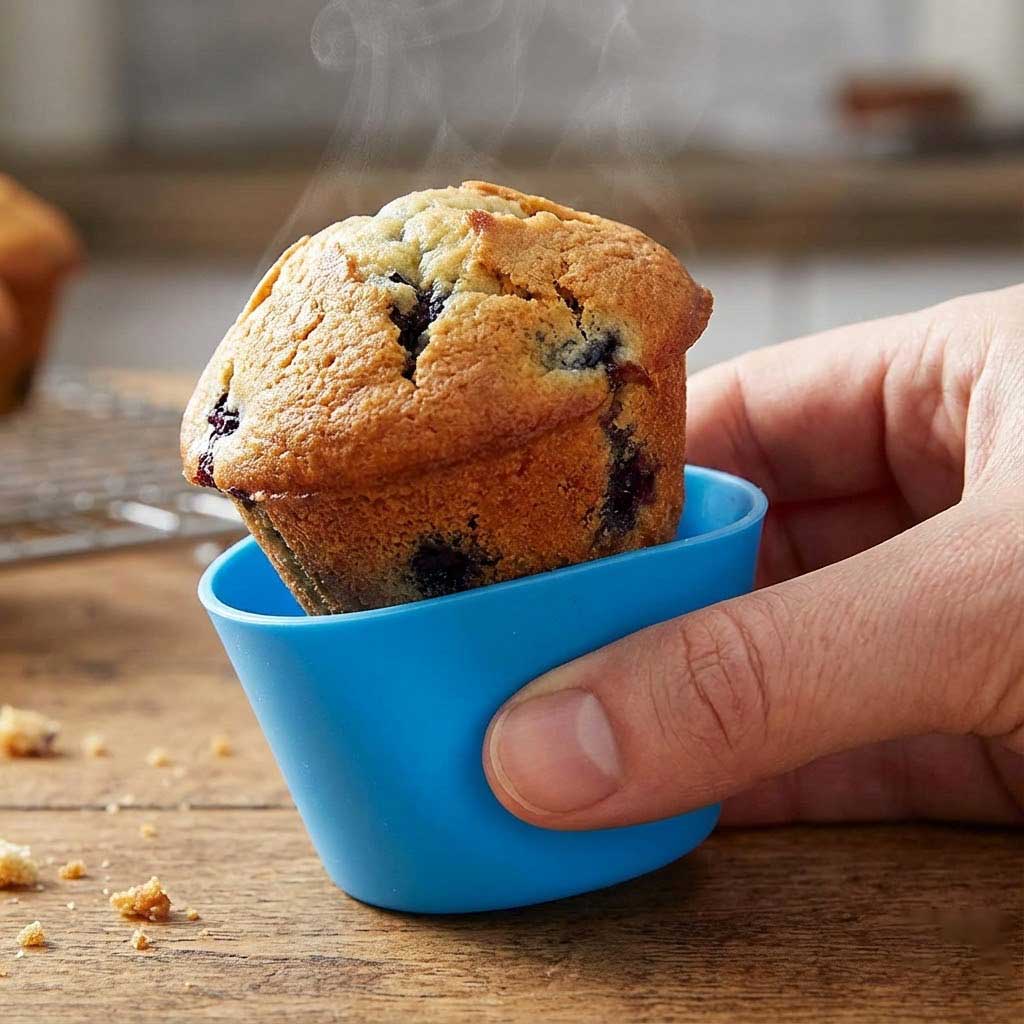
This is where the magic happens.
- Let them cool: Allow the muffins to cool in the cups for at least 5-10 minutes. This structure helps the crumb set.
- The “Pop” Method: Once cool enough to handle, simply press the bottom of the flexible cup, and the muffin should pop right out. No knife required!
How to Clean Silicone Baking Cups
One minor downside of silicone is that it can attract dust or develop a greasy film if not washed properly.
- Dishwasher Safe: Most silicone cups are top-rack dishwasher safe. To keep them from flying around, place them in a utensil basket or a mesh laundry bag.
- Hand Washing (Recommended): Turn the cups inside out and wash with warm, soapy water and a soft sponge. This ensures you get all the crumbs out of the crevices.
- Removing White Film: If your cups develop a white residue (calcium deposits) or feel sticky, soak them in hot water with vinegar for 20 minutes, then wash as normal.
Frequently Asked Questions (FAQs)
Q: Can I put silicone muffin cups directly on the oven rack? A: No. They are too flexible and will fall through the grates. Always place them on a cookie sheet or baking tray.
Q: Are silicone baking cups safe? A: Yes, provided you buy 100% food-grade silicone. Look for “FDA approved” or “LFGB” (European standard) certifications. You can also do the “pinch test”—twist the silicone; if it turns white, it contains fillers. If it stays the color of the cup, it is pure silicone.
Q: Can I use them in the microwave or air fryer? A: Yes! High-quality silicone is safe for the oven, microwave, freezer, and usually the air fryer (check size compatibility).
Conclusion
Learning how to use silicone muffin cups is the first step toward a greener, easier baking experience. By placing them on a sturdy tray and allowing your treats to cool before unmolding, you get bakery-quality results without the paper waste.
Ready to start baking? Grab your favorite recipe, grease your cups lightly, and enjoy the easiest cleanup you’ve ever had!